
🔐 How to Configure Argo Login Using Google or JumpCloud | Step-by-Step Guide
October 18, 2026 — ny_wk
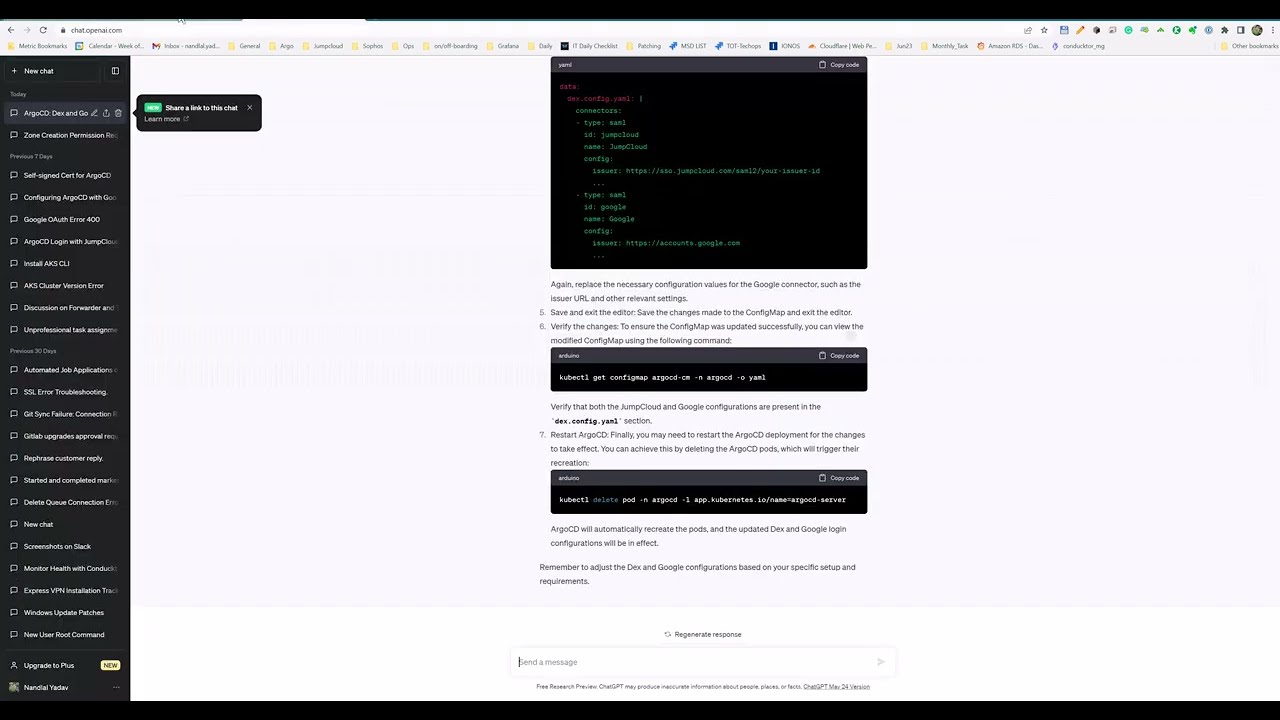
▶ 🔐 How to Configure Argo Login Using Google or JumpCloud | Step-by-Step Guide | Subscribe to @explorenystream
Embarking on the journey of securing your Kubernetes environment with robust authentication is paramount, and integrating Argo Login with Single Sign-On (SSO) providers like Google or JumpCloud offers a streamlined, enterprise-grade solution. This comprehensive guide delves into the intricate steps of configuring Argo CD to leverage these popular identity providers, ensuring secure and efficient access management for your GitOps workflows. From setting up OAuth applications to fine-tuning Argo CD configurations, we'll walk you through everything you need to know to establish a seamless and secure login experience.
Unlocking Enhanced Security with Argo CD SSO Integration
In the world of cloud-native development and GitOps, Argo CD has emerged as a cornerstone for declarative continuous delivery to Kubernetes. While its core functionalities are powerful, the ability to integrate with existing identity management systems like Google Workspace or JumpCloud significantly elevates its security posture and user experience. Gone are the days of managing individual Argo CD credentials; instead, users can authenticate using their familiar corporate identities, inheriting existing security policies and simplifying access control.
The primary driver behind configuring Argo Login using Google or JumpCloud is the adoption of Single Sign-On (SSO). SSO not only enhances security by centralizing authentication and reducing credential sprawl but also improves productivity by eliminating the need for users to remember multiple passwords. For organizations already invested in Google Workspace for user management or JumpCloud as a comprehensive cloud directory, leveraging these platforms for Argo CD authentication is a natural and highly beneficial extension.
This integration typically relies on the OpenID Connect (OIDC) protocol, a layer built on top of OAuth 2.0. OIDC allows client applications (in this case, Argo CD) to verify the identity of the end-user based on the authentication performed by an authorization server (Google or JumpCloud) and to obtain basic profile information about the end-user in an interoperable and REST-like manner. Understanding this underlying mechanism is key to a successful configuration.
Prerequisites: Laying the Groundwork for Seamless Integration
Before diving into the configuration steps, ensuring you have the necessary prerequisites in place will save you significant time and potential headaches. Think of this as preparing your travel essentials before a long journey – having everything ready makes the trip smoother.
- Administrator Access: You will need administrative access to your Google Cloud Console (for Google SSO) or your JumpCloud Admin Portal (for JumpCloud SSO) to create and configure OAuth applications.
- Argo CD Installation: A running instance of Argo CD is obviously essential. This guide assumes you have Argo CD deployed in your Kubernetes cluster, typically via Helm or direct YAML manifests.
- Kubernetes Cluster Access: You'll need
kubectlaccess to your Kubernetes cluster where Argo CD is installed to modify its configuration. - Domain and DNS Configuration: Ensure your Argo CD instance is accessible via a publicly resolvable domain name (e.g.,
argocd.yourcompany.com) and that your DNS records are correctly pointing to your Argo CD ingress controller or load balancer. This is crucial for the OAuth redirect URIs. - Basic Understanding of OIDC/OAuth: While not strictly mandatory to follow the steps, a foundational understanding of how OIDC and OAuth 2.0 work will help you troubleshoot and grasp the "why" behind each configuration.
- Text Editor: A good text editor for modifying YAML files is always helpful.
Confirming each of these items before starting the process will significantly streamline your configuration journey. It's like checking off your packing list – ensures you don't leave anything vital behind.
Step-by-Step Configuration: Integrating Argo Login with Google SSO
Integrating Google SSO with Argo CD involves creating an OAuth 2.0 client ID in the Google Cloud Console and then configuring Argo CD to use this client for authentication. This process mirrors setting up any application to use Google for authentication.
1. Create an OAuth 2.0 Client ID in Google Cloud
First, navigate to the Google Cloud Console.
- Go to APIs & Services > Credentials.
- Click + CREATE CREDENTIALS and select OAuth client ID.
- If prompted, configure your OAuth consent screen first. This is where users will see what information your application is requesting.
- Choose External for User Type (unless you're strictly internal to your Google Workspace organization).
- Fill in the required fields like Application name, user support email, and developer contact information.
- Add your Argo CD domain to the authorized domains.
- For Application type, select Web application.
- Give your OAuth client a descriptive Name, e.g., "Argo CD SSO".
- Under Authorized JavaScript origins, add the base URL of your Argo CD instance, e.g.,
https://argocd.yourcompany.com. - Crucially, under Authorized redirect URIs, add your Argo CD base URL followed by
/api/dex/callback. For example:https://argocd.yourcompany.com/api/dex/callback. This is where Google will redirect the user after successful authentication, along with the authentication token. - Click CREATE.
- You will be presented with your Client ID and Client Secret. Make sure to copy these securely, as they are vital for the Argo CD configuration.
2. Configure Argo CD for Google OIDC
Next, you need to tell Argo CD how to use these Google credentials. Argo CD uses an embedded OIDC provider called Dex for handling external authentication. You'll modify the argocd-cm ConfigMap in your Kubernetes cluster.
- Get the current
argocd-cmConfigMap:
(Replacekubectl get cm argocd-cm -n argocd -o yaml > argocd-cm.yamlargocdwith your Argo CD namespace if different.) - Edit the
argocd-cm.yamlfile. Locate thedatasection and add or modify theoidc.configkey. - Add the following configuration, replacing the placeholders with your actual Client ID and Client Secret:
data: oidc.config: | name: Google issuer: https://accounts.google.com clientID: YOUR_GOOGLE_CLIENT_ID clientSecret: YOUR_GOOGLE_CLIENT_SECRET requestedScopes: ["openid", "profile", "email"] - Save the file.
- Apply the changes to your ConfigMap:
kubectl apply -f argocd-cm.yaml -n argocd - Restart the Argo CD server pods to pick up the new configuration:
kubectl rollout restart deployment argocd-server -n argocd
3. (Optional) Configure RBAC for Google Groups
To leverage Google groups for Role-Based Access Control (RBAC) in Argo CD, you need to map these groups within Argo CD's argocd-rbac-cm ConfigMap. This allows you to grant permissions based on a user's Google group membership.
- Get the current
argocd-rbac-cmConfigMap:kubectl get cm argocd-rbac-cm -n argocd -o yaml > argocd-rbac-cm.yaml - Edit the
argocd-rbac-cm.yamlfile and add or modify thepolicy.csvsection. - Map your Google group to an Argo CD role. The group name should be the full email address of the Google group.
This example grants thedata: policy.csv: | p, role:admin, applications, *, *, allow g, your-google-group@yourdomain.com, role:admin g, another-google-group@yourdomain.com, role:readonlyrole:adminto users belonging toyour-google-group@yourdomain.com. - Save and apply the ConfigMap:
kubectl apply -f argocd-rbac-cm.yaml -n argocd - Restart the Argo CD server pods for RBAC changes to take effect:
kubectl rollout restart deployment argocd-server -n argocd
Once these steps are completed, navigate to your Argo CD UI. You should now see a "LOGIN VIA GOOGLE" button. Clicking this will redirect you to Google's authentication page, and upon successful login, you'll be redirected back to Argo CD.
Step-by-Step Configuration: Integrating Argo Login with JumpCloud SSO
JumpCloud, as a comprehensive cloud directory platform, can also serve as an identity provider for Argo CD. The integration process is similar to Google, leveraging OIDC, but requires setting up an OIDC application within the JumpCloud Admin Portal.
1. Create an OIDC Application in JumpCloud
Login to your JumpCloud Admin Portal.
- Go to Applications in the left navigation.
- Click the + button to add a new application.
- Search for "OIDC" and select the OIDC Application template.
- Click Configure.
- Give your application a descriptive Display Label, e.g., "Argo CD".
- Under Client ID and Client Secret, JumpCloud will auto-generate these for you. Copy them securely, as you'll need them for Argo CD.
- Crucially, under Redirect URIs, add your Argo CD base URL followed by
/api/dex/callback. For example:https://argocd.yourcompany.com/api/dex/callback. - Under User and Group Attributes, you might want to add attributes that Argo CD can use for RBAC, such as
groups. Ensure the attribute name is consistent. For example:- Attribute Name:
groups - SAML Subject NameID:
memberOf(or whatever attribute holds group information in JumpCloud)
- Attribute Name:
- Under General Info, note down the Issuer URL (e.g.,
https://oauth.jumpcloud.com/oauth2/author specific to your organization). This is your OIDC issuer URL. - Ensure the application is Activated.
- Finally, under the Users tab, assign the JumpCloud users who should have access to Argo CD through this SSO integration.
2. Configure Argo CD for JumpCloud OIDC
Similar to the Google configuration, you'll modify the argocd-cm ConfigMap to point to your JumpCloud OIDC application.
- Get the current
argocd-cmConfigMap:kubectl get cm argocd-cm -n argocd -o yaml > argocd-cm.yaml - Edit the
argocd-cm.yamlfile. Locate thedatasection and add or modify theoidc.configkey. - Add the following configuration, replacing the placeholders with your actual Client ID, Client Secret, and Issuer URL from JumpCloud:
data: oidc.config: | name: JumpCloud issuer: YOUR_JUMPCLOUD_ISSUER_URL clientID: YOUR_JUMPCLOUD_CLIENT_ID clientSecret: YOUR_JUMPCLOUD_CLIENT_SECRET requestedScopes: ["openid", "profile", "email", "groups"] # Add 'groups' if using for RBAC - Save the file.
- Apply the changes to your ConfigMap:
kubectl apply -f argocd-cm.yaml -n argocd - Restart the Argo CD server pods to pick up the new configuration:
kubectl rollout restart deployment argocd-server -n argocd
3. (Optional) Configure RBAC for JumpCloud Groups
To enable group-based RBAC with JumpCloud, you need to map the group names (as they are passed by JumpCloud) to Argo CD roles in the argocd-rbac-cm ConfigMap.
- Get the current
argocd-rbac-cmConfigMap:kubectl get cm argocd-rbac-cm -n argocd -o yaml > argocd-rbac-cm.yaml - Edit the
argocd-rbac-cm.yamlfile and add or modify thepolicy.csvsection. - Map your JumpCloud groups to an Argo CD role. The group names must exactly match what JumpCloud passes in the OIDC token.
You might need to inspect the OIDC token or use a tool likedata: policy.csv: | p, role:admin, applications, *, *, allow g, JumpCloud_Admin_Group_Name, role:admin g, JumpCloud_Readonly_Group_Name, role:readonlyjwt.ioto see how JumpCloud formats and passes group names. - Save and apply the ConfigMap:
kubectl apply -f argocd-rbac-cm.yaml -n argocd - Restart the Argo CD server pods for RBAC changes to take effect:
kubectl rollout restart deployment argocd-server -n argocd
After these steps, refresh your Argo CD UI. A "LOGIN VIA JUMPCLOUD" (or whatever name you set) button should appear. Clicking it will initiate the JumpCloud authentication flow.
Troubleshooting Common Pitfalls and Verification Steps
Even with careful execution, issues can arise. Here's how to diagnose and verify your Argo Login SSO setup:
Common Pitfalls:
- Incorrect Redirect URI: This is by far the most common error. Double-check that the "Authorized redirect URI" in your Google Cloud Console or JumpCloud application exactly matches
https://your-argocd-domain/api/dex/callback. A simple typo or missing HTTPS can break the flow. - Client ID/Secret Mismatch: Ensure the Client ID and Client Secret in your
argocd-cmexactly match those provided by Google or JumpCloud. - Issuer URL Incorrect (JumpCloud): For JumpCloud, the Issuer URL is critical. Verify it's correct from your JumpCloud OIDC application's general info.
- Argo CD Server Not Restarted: Configuration changes in ConfigMaps often require the affected pods (
argocd-server, and sometimesargocd-dex-serverif you're not using the embedded Dex) to be restarted to pick up the new settings. - OAuth Consent Screen Issues (Google): If you're seeing "App not verified" or similar errors with Google, ensure your OAuth consent screen is properly configured and, if necessary, published. For external applications, Google might require verification if you're accessing sensitive scopes or have a large user base.
- Firewall/Network Issues: Ensure your Argo CD instance can reach the Google/JumpCloud OIDC endpoints (
accounts.google.com,oauth.jumpcloud.com) and that your browser can reach your Argo CD domain. - RBAC Policy Errors: If login works but permissions are incorrect, scrutinize your
argocd-rbac-cm'spolicy.csv. Ensure group names precisely match what the OIDC provider sends. You might need to examine the OIDC token's payload to confirm group attribute names.
Verification Steps:
- Check Argo CD UI: After applying configurations and restarting pods, refresh your Argo CD UI in your browser. You should see a new login button (e.g., "LOGIN VIA GOOGLE" or "LOGIN VIA JUMPCLOUD").
- Attempt Login: Click the new SSO login button. You should be redirected to your identity provider's login page. Successfully authenticate there.
- Successful Redirect to Argo CD: After authentication, you should be redirected back to the Argo CD UI, ideally logged in.
- Verify User and Roles: Once logged in, check your user profile in Argo CD (bottom left corner of the UI) to confirm your username/email is correct